General information
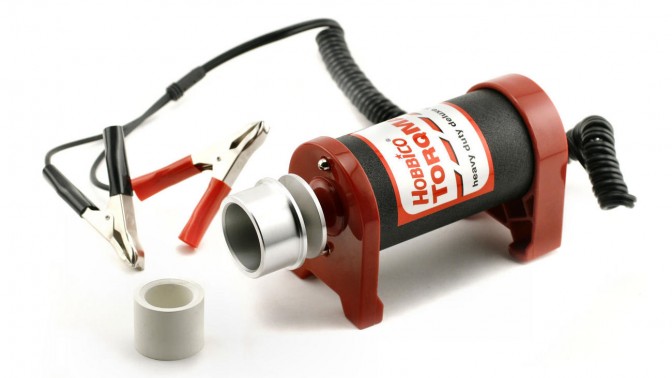
This is a Hobbico Torqmaster 90 Deluxe 12 Volt Starter. It is designed for starting Glow Engines up to .90 cubic inches in size. This starter features an aluminum starter cone with V-Groove for boat starter belts and round rubber insert for airplane spinner cones. The starter has self-adjusting carbon brushes for longer lasting usage and constant contact with the armature. Easy-Press start switch makes starting easy without requiring heavy finger pressure and a built-in finger-guard promises safe starts. Pre-attached alligator clips for easy attachment to a 12 volt battery. The starter is a regular DC brushed motor. Most parts of the starter can be modded or replaced. The switch and the brushes are the one that may need attention.Required tools
- 8 mm and 10 mm hex sockets
- 2 metal paper clips
- 1 pair of long nose pliers
Maintenance
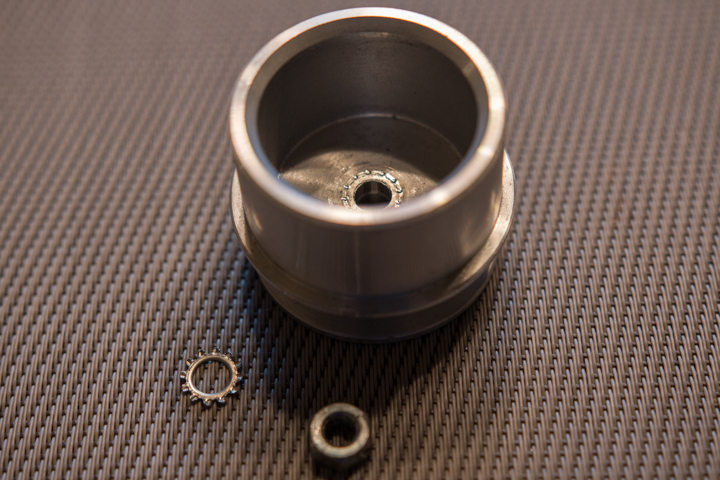
Replace the rubber insert adapter for aircraft
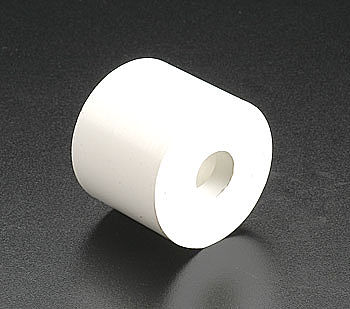 Hobbico TorqMaster Rubber Insert (Air) |
 Hobbico TorqMaster Rubber Insert (Air) |
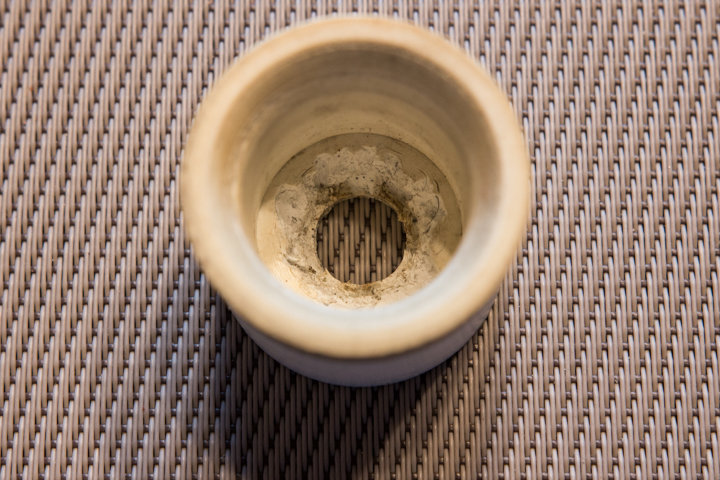
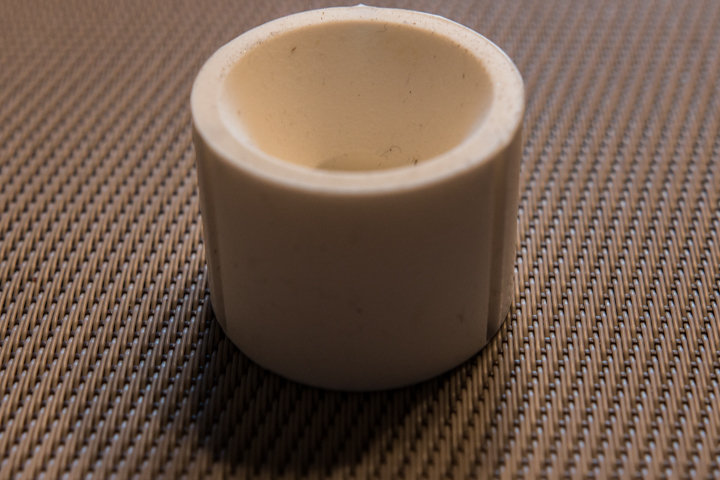
Hobbico TorqMaster old / used Rubber Insert
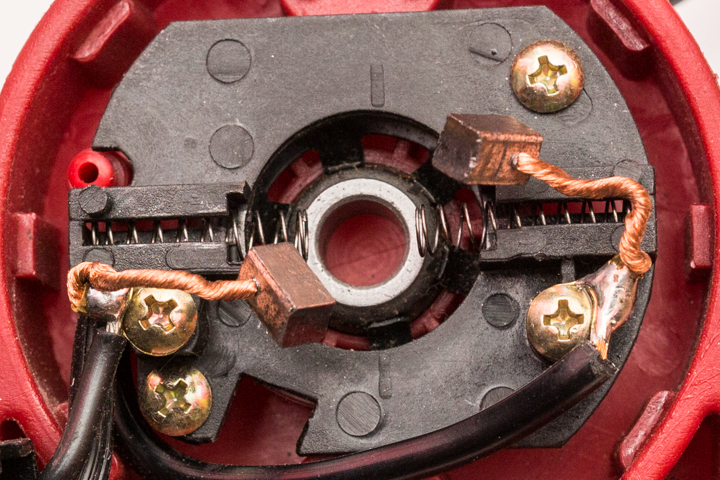
Opening the case
The case is held in place by 2 screws. Both screws are 4 inches long (goes through the whole body) and have a 8 mm hexadecimal head. To open the case, remove the 2 screws then pull out the back cover. Warning: removing the back cover will disconnect the brushes from the rotor and you will need to assemble the unit again.A fixed front cover
For an unknown reason the front cover of the unit seems to be fixed to the rotor. Even if you remove the Driver Cone, you will not be able to detach the front cover from the rotor. This was unexpected but I never found out why I wasn’t able to split the part.Replacing the motor’s brushes
In the RC world, people usually prefer using brushless motors since they do not have brushes. The main disadvantages of using a brushed motor is that the brushes will wear down and you will eventually need to replace them. In most cases you should not have to change the brushes on a 12 volt RC starter since the motor is not used more than a few seconds each time you go to the field. The brushes should last for a very long time if you take care of the starter by:- Not using the starter for a too long period of time.
- Not applying too much power (voltage or amperage outside the specifications boundaries).
- Not using the motor in harsh conditions like sand, dust or water.
Hobbico TorqMaster 90 with brushes removed
Hobbico TorqMaster 90 with brushes removed
Assembling the unit
Here is a few tricks that may help you assemble the unit. What you need to do is squeeze the front and back cover between the stator (cylinder) and the switch.The switch
Use masking tape and tape the switch to keep all the moving parts into a single piece. Once the unit is assembled, you can pull on the tape which will slide under the switch and easily be removed without leaving a greasy or sticky finish.The brushes
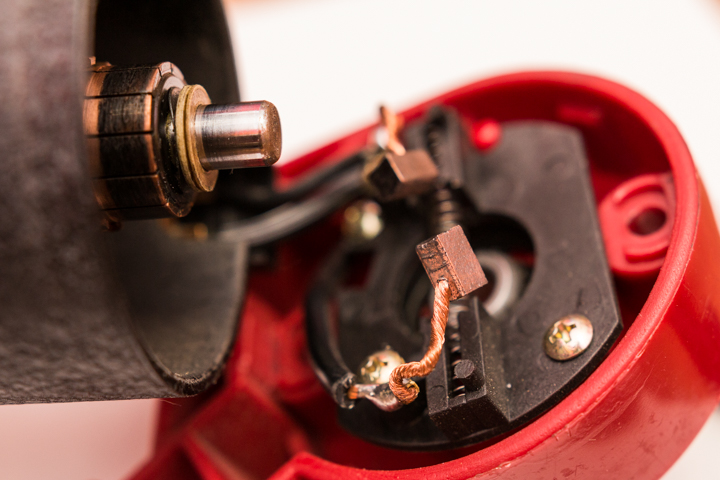
Installing the brushes back on the rotor is probably the hardest part to do. The problem is that the spring of the brush must be compressed almost completely to be able to insert the rotor between the two brushes. I am also suspecting that you may need a special tool for doing it. However, I found out a nice and easy trick for keeping the springs compressed while having your hands free for putting the rotor back in place: use paperclips. The goal is to use small and easily bendable paper clips to “hold” the compressed brushes leaving enough free space for the rotor. Then, you bend each clips so they go through the bolt hole of the back cover. The following image shows the paper clips in place: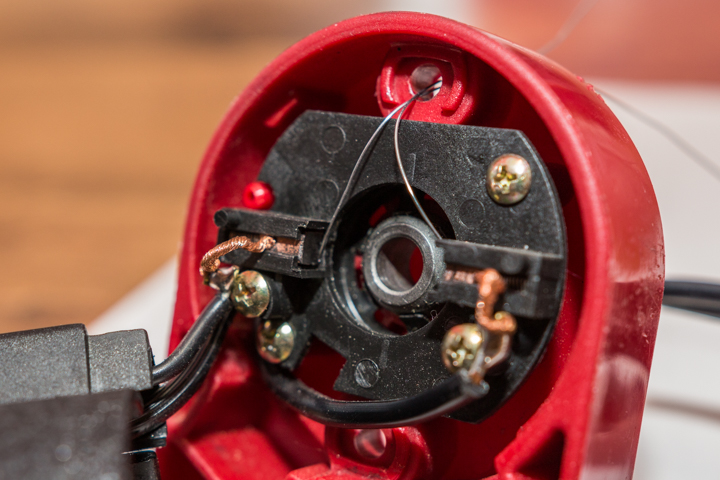
Paper clips blocking the Hobbico TorqMaster 90 brushes
Paper clips through the bolt hole of the back cover Hobbico TorqMaster 90
The driver cone
 Hobbico TorqMaster 90 Old / Used Drive Cone |
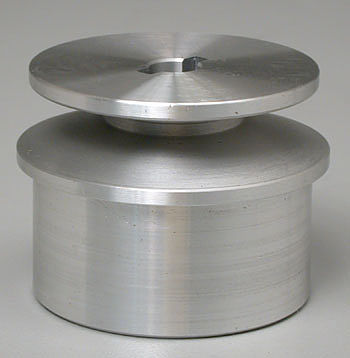 Hobbico TorqMaster 90 Drive Cone |
Hobbico TorqMaster Shaft without Driver Cone
Note: If you actually changed the rubber insert, it is much wiser to screw the Driver Cone in place before installing a new rubber insert.