
Introduction
How many times did you wake up your partner in bed because you had to turn on a lamp to see something? Did you ever wanted to have a bedside lamp/table lamp that do not take too much space on the bedside table? How about being able to turn off a lamp that’s been turned on by your partner without leaving your bed?
In this article, I will explain how I created a bedroom under the bed LED lighting solution that can replace your existing bedside lamp.
After completing my DIY Kitchen under cabinet LED lighting project, I managed to get a few spare parts lying around. I realized that I had all the equipment required to implement something similar for the bedroom.
The reason I started this project was that I wanted a low brightness light to be turned on during the night so that I can see where I go. At the same time, I did not always went to bed at the same time that my partner. Having a light that can be left on while she is going to sleep would have been an amazing feature.
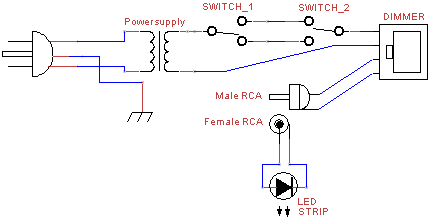
The electrical circuit is almost identical to the Kitchen under cabinet LED lighting. However, this design uses 2 switches instead of a single one. This is required so that each partner has control on the lights from his/her bed side.
Installing lights under your bed is really different than having a bedside/table lamp. This setup provide the following benefits in a bedroom:
- It does not create light that is too bright. The dimmer make this easy on the eyes at night. The LEDs can be turned on without blinding you.
- It allows to see were you are walking. Be able to see the walkway between the bedroom and the bathroom is pretty interesting.
- Can be turned on without disturbing the sleep of the other partner.
- Give a nice ambient light for bed activities…
In this post, I will explain how I installed in my bedroom a custom under the bed LED lighting solution.
Note:
Handling wall electricity can be dangerous. If you do not have basic electricity skills, I strongly recommend that you do not complete this project. Proceed at your own risk.
Project data
Equipment
The material for this project is as follows:
- A 5 meters LED strip.
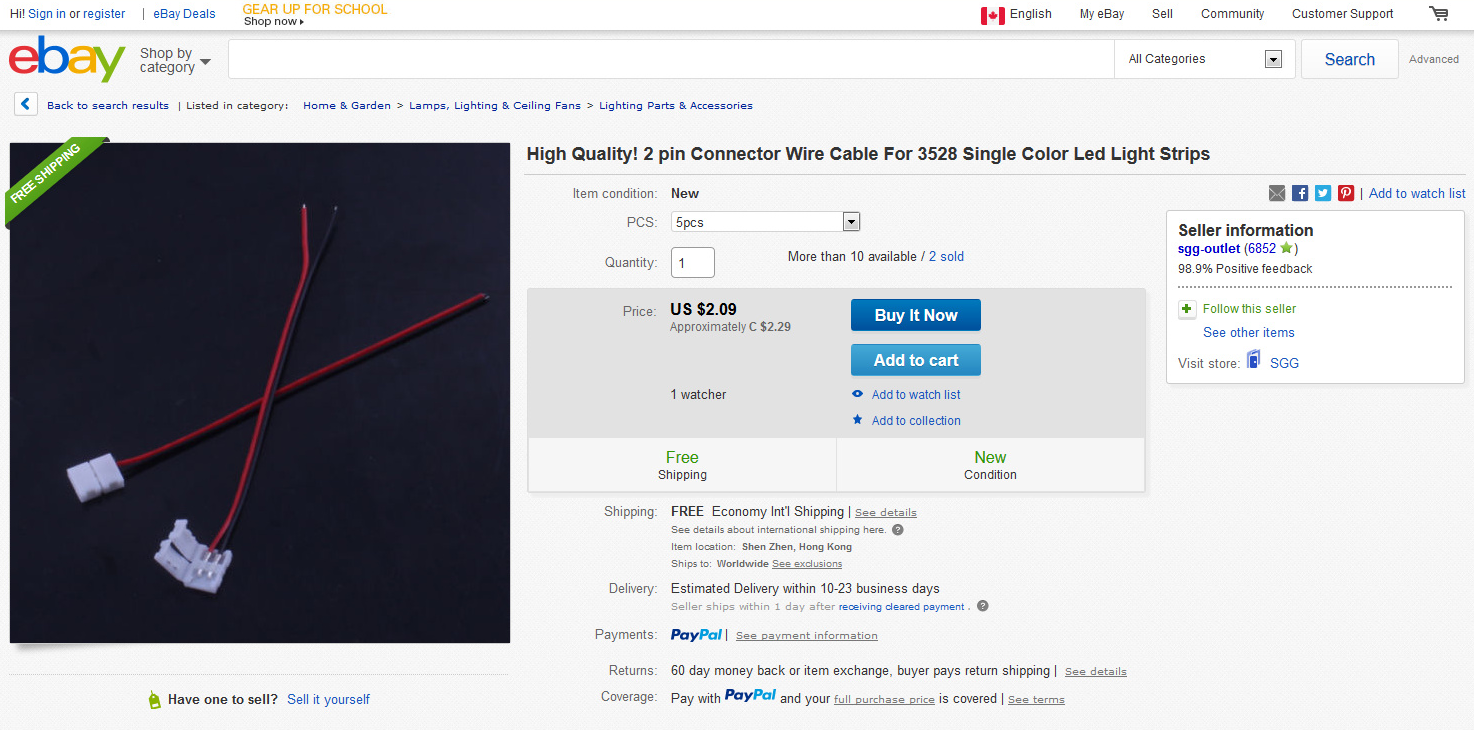
- 2 pin Connector Wire Cable For 3528 Single Color LED Strips (5 times)
- A 36 Watts (12 volts, 3 amps) power supply.
- A 3 pins wall outlet power cord.
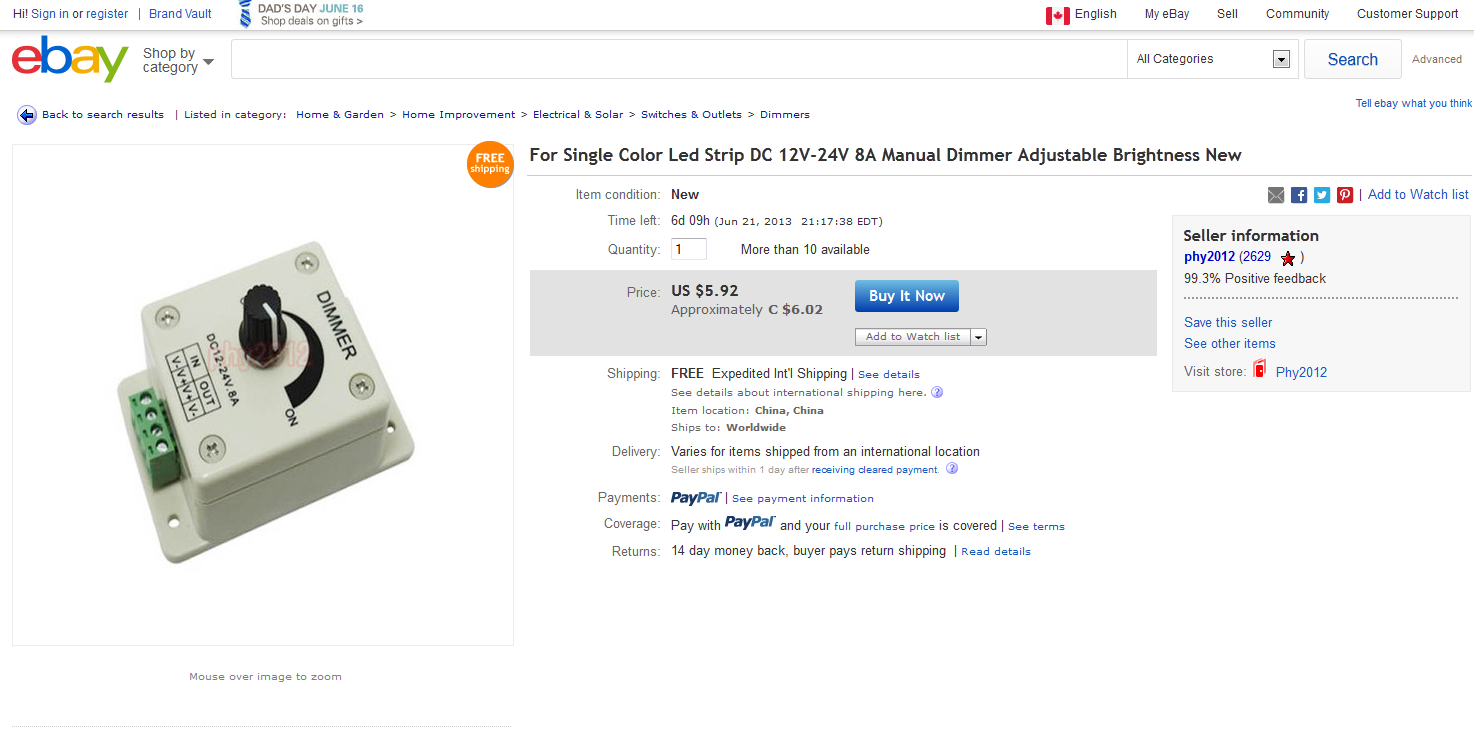
- A LED dimmer module.
- Two 3-way switch.
- 5 meters of colored (red & black) wire.
- Male and Female RCA connectors.
- A multimeter (for testing connections and power output)
- Screws
- A Phillips screwdriver
- Flexible measuring tape
Usual equipment
As I have explained before, the equipment is almost identical to the one for my DIY Kitchen under cabinet LED lighting. I wont go into details of how to connect everything together or why choosing which type of LED are better. Please consult the other post for details
3-way switch
The only piece of equipment that is different is the type of switches used in the project. There is two switches, one for each partner. The type of switches is also different and requires 3-way switches. This type of switch allows controls of the lights on both side of the bed: one partner can turn on lights and the other can turn them off.
RCA connector
The RCA connectors used in the circuit are use for disconnecting the LED strip from the rest of the circuit. The headboard and the base of my bed are not attached together. The base is sometime moved away from the head for cleaning or changing the sheets. Since the LEDs are stick below the base and the main circuit is attached behind the headboard, I needed a way to disconnect the two for maintenance. I used an RCA connector for this purpose because they are mostly available in any electronic store or they can be salvaged from many sources. If you don’t have some, any type of connector would be fine.
Total cost of the project
Like the kitchen project, this project can be completed at a pretty cheap price. The total cost of the project is less than 35$.
Here is the detailed price of each items:
- $8.13 – LED strips from ebay. See screenshot here.
- $2.29 – 2 pin Connector Wire Cable For 3528 Single Color LED Strips from ebay. See screenshot here.
- $7.15 – 36 Watts power supply from ebay. See screenshot here.
- $0.00 – Power cord. (I have many lying around)
- $6.02 – LED dimmer from ebay. See screenshot here.
- $3.98 – 3-way power switch from the hardware store.
- $4.00 – Colored wire (I used gauge 18awg) from dollar store
- $0.00 – Male and Female RCA connectors (I have many lying around)
Total cost: $31.57
* The cost of usual items such as screws and glue is not included in the cost of the project.
Preparation time
The preparation time is simple, it requires to test all the circuit before fixing the strip to the bed. The circuit takes about half an hour to complete and verifies that all components are working as expected. No soldering is required for this step. The circuit is pretty basic. Refer to the next section for details of the circuit.
Building steps
Construction steps are very simple. Screw, wire everything up and enjoy. Here is a picture of the circuit that you need to assemble:
Testing everything together
The first thing you need to focus on is to test everything together before mounting it behind the headboard of the bed. The last ting you want is to wire everything up and finding out that a wire is bad or the dimmer or switches (which are glued) are dead.
As mentioned before, all questions regarding how to connect the power cord to the power supply or how to connect the dimmer, can be answered in the following post: DIY Kitchen under cabinet LED lighting.
Deciding where to put your stuff
This section defines the basic reasons that lead to the final design.
Orientation of the LEDs

The location of the LEDs is obvious. However, I didn’t know if I had to stick the LEDs facing down or facing out of the base. If you stick the LEDs facing out, all the lower section of the room get illuminated but the light does not go as high as if the LEDs were facing down.
Turns out that best method for me was to stick them facing down. Choose the option that is best for you.
Note:
Both options do not illuminate the people sleeping and should not disturb your lover’s sleep.
Switches
I had a hard time figuring out where I would put the switches and the dimmer. They had to be freely available and I wanted to be able to find the switches with my hands only, without having to take a look first. You will turn them on in the middle of the night when not fully awake!
My first idea was to install the switch through the headboard by drilling small holes the size of the switch and use switch plates to cover everything. That was not accepted as a viable solution because we though that it will be too intrusive. It would also be hard finding the switch in almost total darkness.
I opted to position the circuit of the switches at the same level than the bed’s headboard. The moving part of the switch is raised a little bit above the headboard. This option is perfect because it is really easy to turn on the lights even when lying on the bed. You simply have to slide your hand on the top of the headboard from left to right (or right to left).
Dimmer
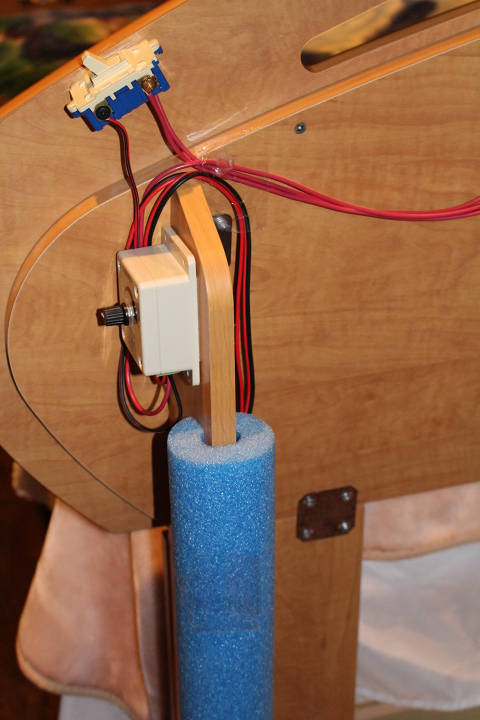
The dimmer is not always used in this setup. Most of the time, you want the light to be set at the minimum brightness level. In some scenarios, you will want to get more light and you will have to turn the knob of the dimmer.
For this reason, I decided to position the dimmer behind the headboard. It cannot be reached when lying on the bed but it can still be reached when sitting/standing face to the headboard.
LED strip installation
Cutting
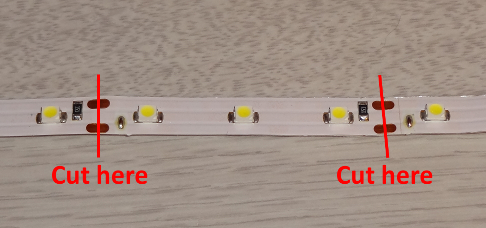
I had to cut 3 slices of strip, one for each side of the base. The strip can be cut safely at every 3 LEDs. Each cut point is identified by the contact points in copper. Simply cut in the middle of the contact points to leave enough copper for the 2-pins connectors.
Use a measuring tape to calculate the length of each side of the base. If the length of the base does not match a cut point, do not hesitate to get a smaller length since 3 missing LEDs wont make a difference.
Sticking

Now is the time to stick the LEDs to the base of the bed. The opposite side of the LEDs is sticky and can be used to stick the LED to a surface. Make sure that the mounting surface is dry and clean since you won’t have multiple tries before the surface loose the ability to stick to the wall. If the strip does not exactly match the length of the base, make sure that you center the strip for appropriate lighting.
I used decided to use hot glue for securing the beginning of the strip to the base of the bed. This is a good idea in case I forget to disconnect the strip from the main circuit when moving the base away from the headboard. The glue will hold the strip in place and prevent any damage.
Connecting
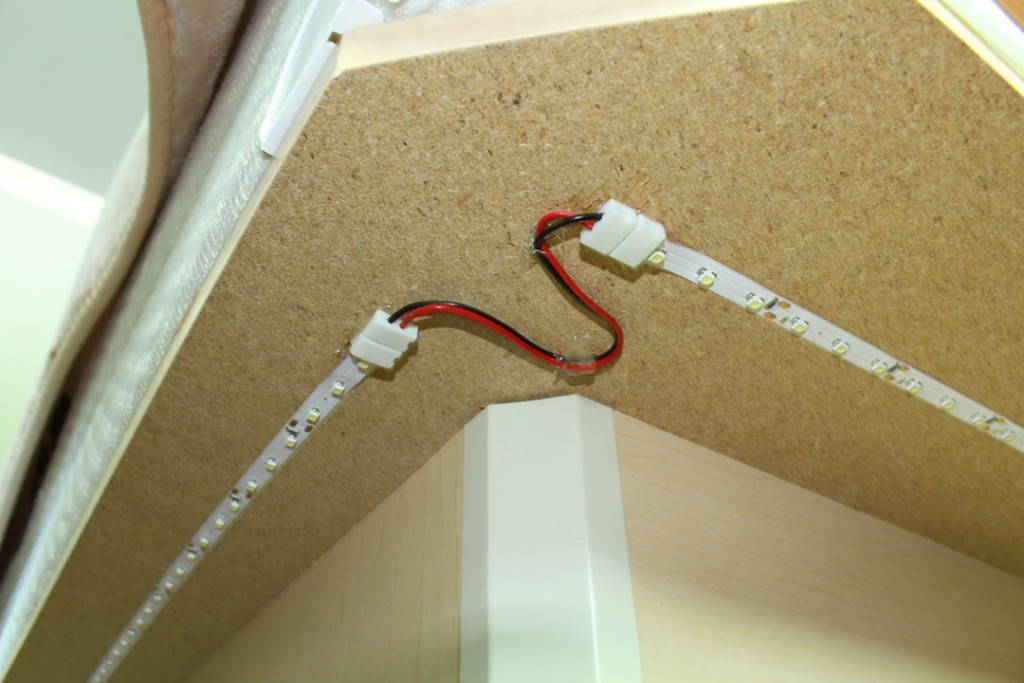
Use the connectors to link each strip together. The connectors are specifically designed for connecting LED strip together. You just have to open a door, slide the strip in place and close the door which will hold the strip in place. When linking the strip together, make sure that you align the positive (red) and negative (black) leads of the strip with the appropriate color code of the connector.
I also used hot glue for holding the connector on the base and prevent any loose or hanging wires. We do have 2 cats living with us and that is a good idea to make sure this does not look like a cat toy 🙂
Final Result
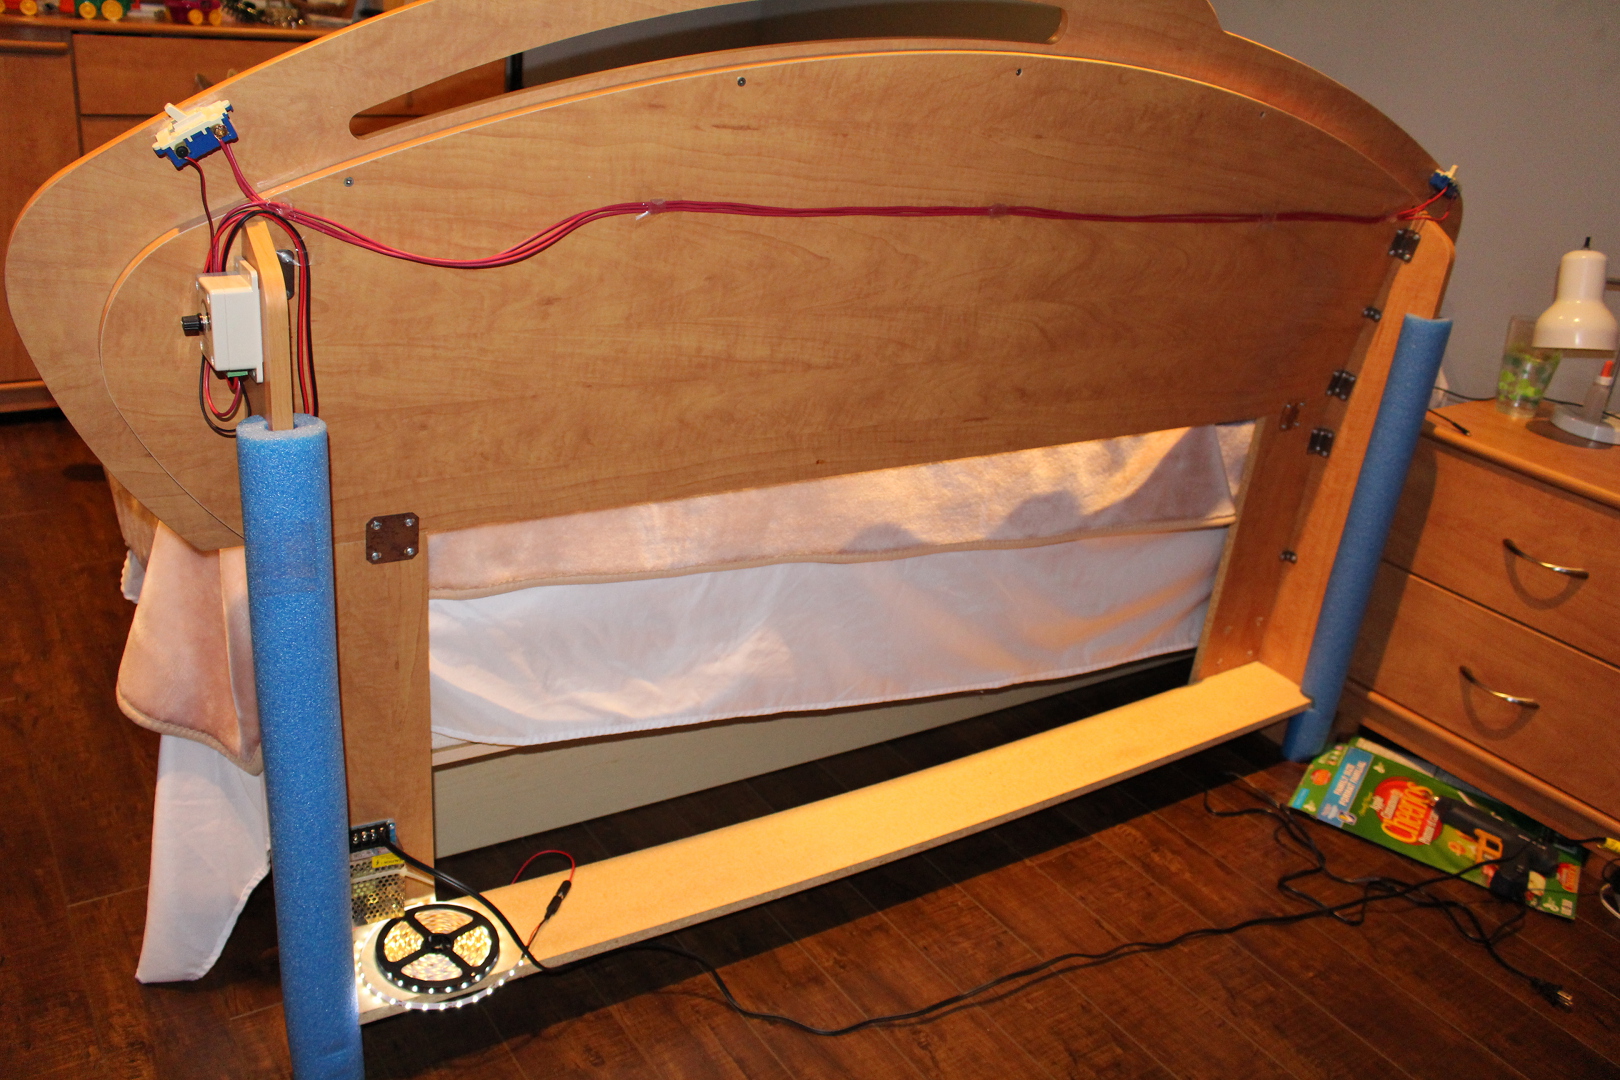
Here is the final result:
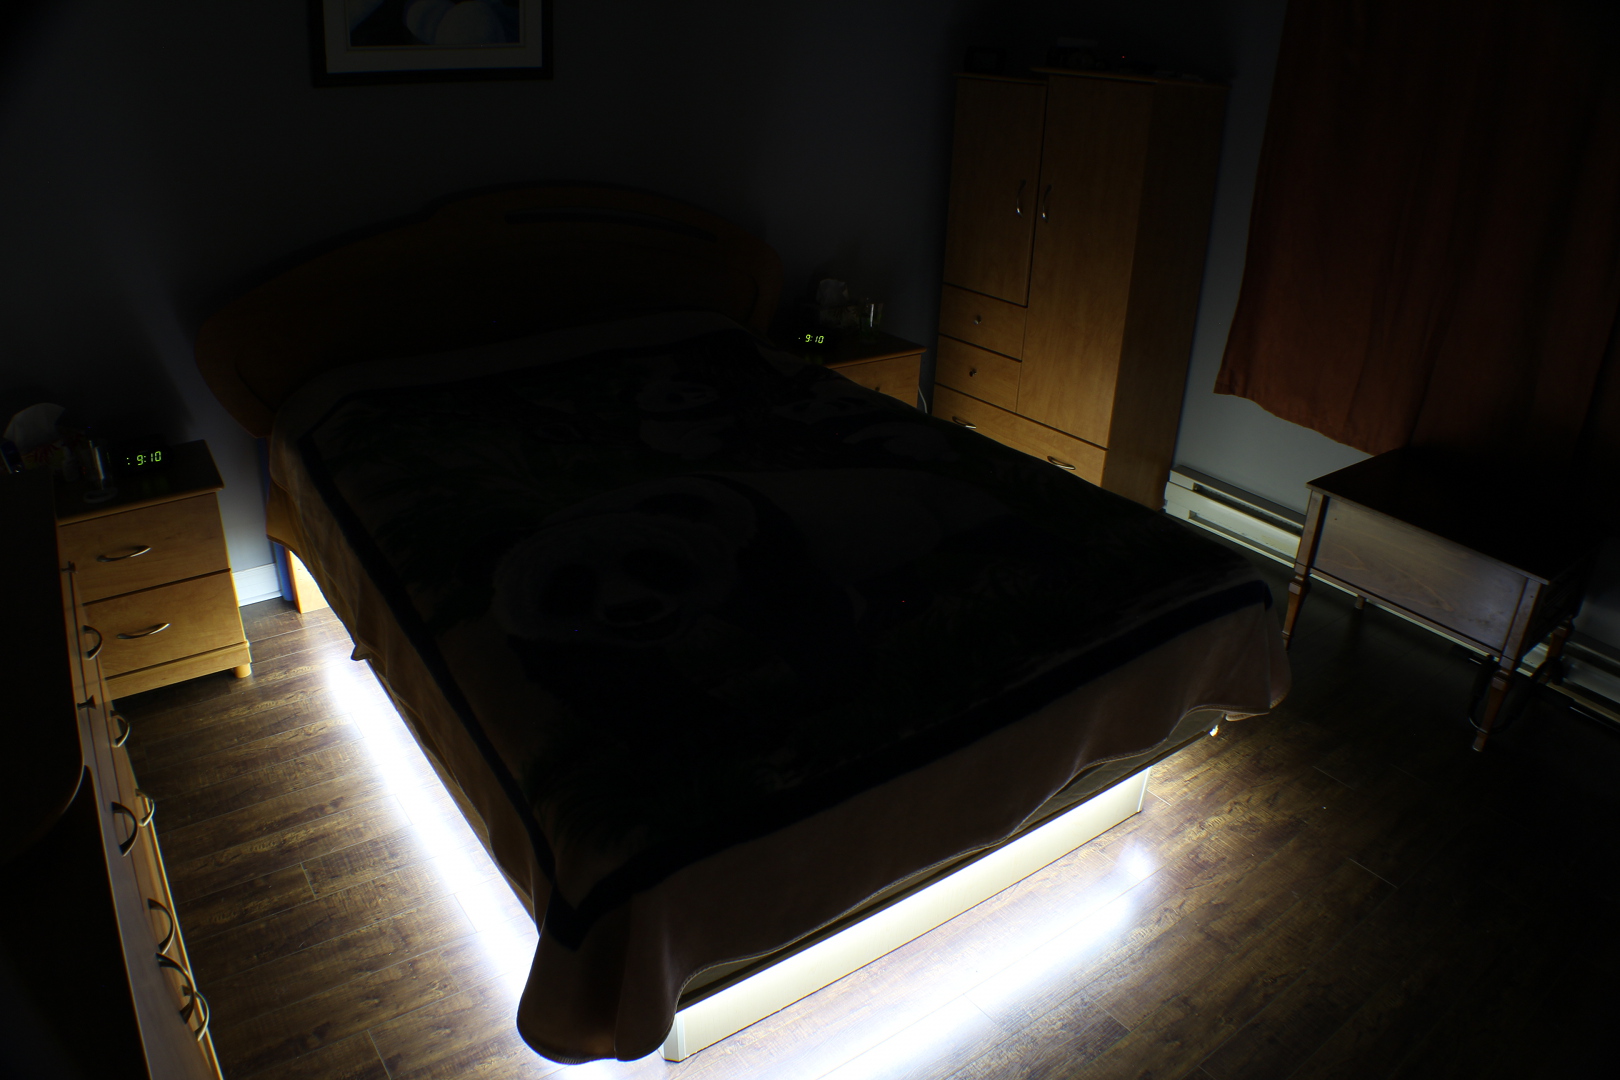
DIY Bedroom under the bed led lighting
Made anything differently?
This is my second project dealing with LED lighting strips. I do not think that I would make anything differently. Everything is pretty much like the way I wanted. I may eventually add a motion sensor as shown here to detect when I get up at night for a bathroom walk so the walkway may get illuminated automatically but that may be too extreme. I only have to raise my hand and slide it before getting up.
Notes
none